64
65
WALLPAPERS
INSTALLATION | INSTALLAZIONE
WALLPAPERS
INSTALLATION | INSTALLAZIONE
Modularity /
Modularità
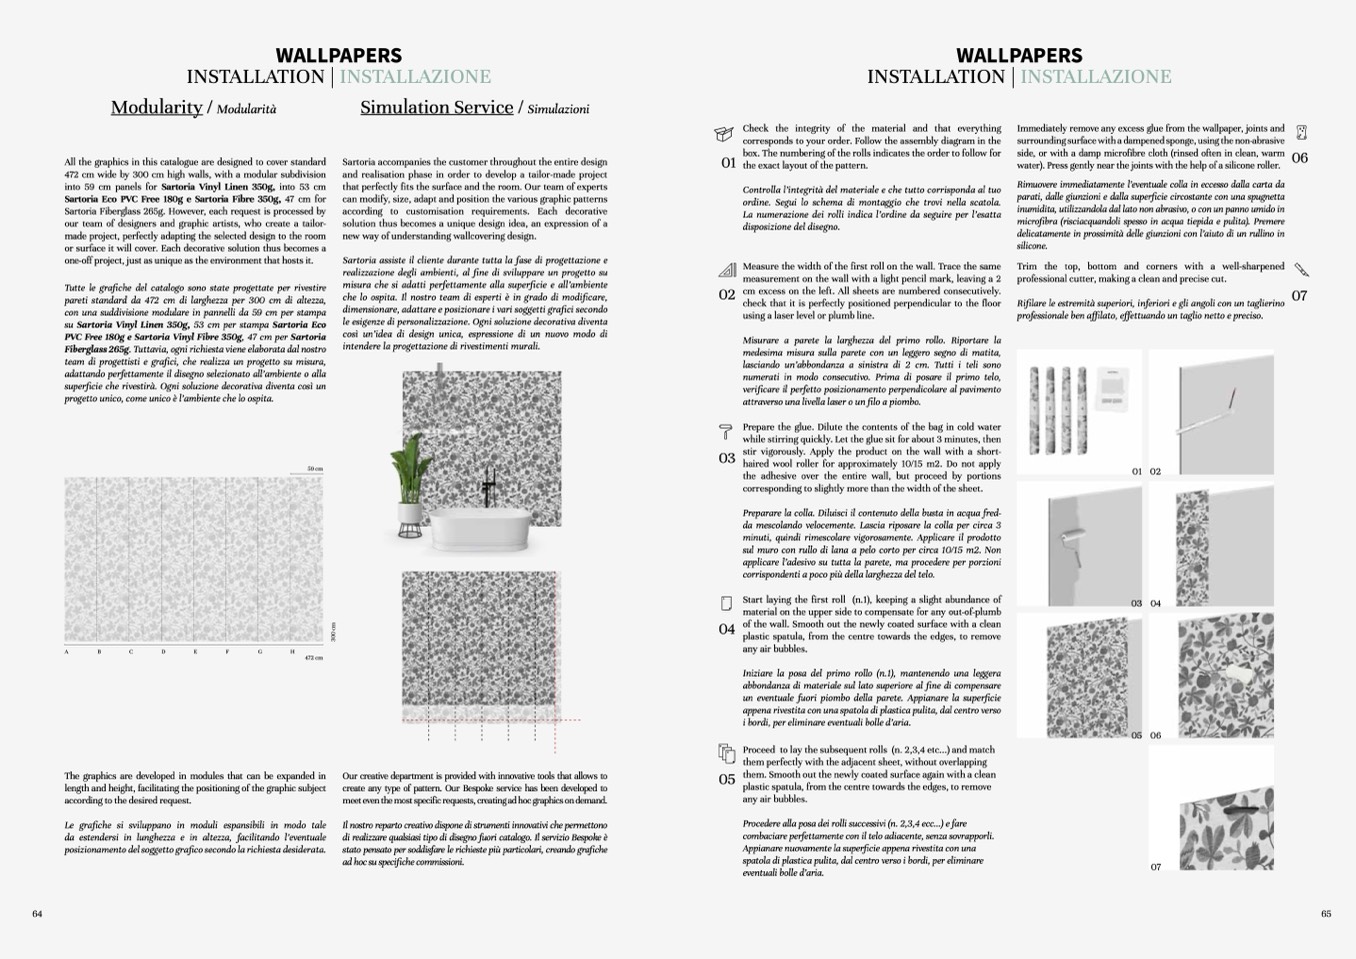
All the graphics in this catalogue are designed to cover standard
472 cm wide by 300 cm high walls, with a modular subdivision
into 59 cm panels for Sartoria Vinyl Linen 350g, into 53 cm
Sartoria Eco PVC Free 180g e Sartoria Fibre 350g, 47 cm for
SartoriaFiberglass265g.However,eachrequestisprocessedby
our team of designers and graphic artists, who create a tailor-
made project, perfectly adapting the selected design to the room
or surface it will cover. Each decorative solution thus becomes a
one-off project, just as unique as the environment that hosts it.
Tutte le grafiche del catalogo sono state progettate per rivestire
pareti standard da 472 cm di larghezza per 300 cm di altezza,
con una suddivisione modulare in pannelli da 59 cm per stampa
su Sartoria Vinyl Linen 350g, 53 cm per stampa Sartoria Eco
PVC Free 180g e Sartoria Vinyl Fibre 350g, 47 cm per Sartoria
Fiberglass 265g. Tuttavia, ogni richiesta viene elaborata dal nostro
team di progettisti e grafici, che realizza un progetto su misura,
adattando perfettamente il disegno selezionato all’ambiente o alla
superficie che rivestirà. Ogni soluzione decorativa diventa così un
progetto unico, come unico è l’ambiente che lo ospita.
59 cm
Simulation Service /
Simulazioni
Sartoria accompanies the customer throughout the entire design
and realisation phase in order to develop a tailor-made project
that perfectly fits the surface and the room. Our team of experts
can modify, size, adapt and position the various graphic patterns
according to customisation requirements. Each decorative
solution thus becomes a unique design idea, an expression of a
new way of understanding wallcovering design.
Sartoria assiste il cliente durante tutta la fase di progettazione e
realizzazione degli ambienti, al fine di sviluppare un progetto su
misura che si adatti perfettamente alla superficie e all’ambiente
che lo ospita. Il nostro team di esperti è in grado di modificare,
dimensionare, adattare e posizionare i vari soggetti grafici secondo
le esigenze di personalizzazione. Ogni soluzione decorativa diventa
così un’idea di design unica, espressione di un nuovo modo di
intendere la progettazione di rivestimenti murali.
Check the integrity of the material and that everything
corresponds to your order. Follow the assembly diagram in the
box. The numbering of the rolls indicates the order to follow for
Immediately remove any excess glue from the wallpaper, joints and
surrounding surface with a dampened sponge, using the non-abrasive
side, or with a damp microfibre cloth (rinsed often in clean, warm
water). Press gently near the joints with the help of a silicone roller.
Rimuovere immediatamente l’eventuale colla in eccesso dalla carta da
parati, dalle giunzioni e dalla superficie circostante con una spugnetta
inumidita, utilizzandola dal lato non abrasivo, o con un panno umido in
microfibra (risciacquandoli spesso in acqua tiepida e pulita). Premere
delicatamente in prossimità delle giunzioni con l’aiuto di un rullino in
silicone.
Trim the top, bottom and corners with a well-sharpened
professional cutter, making a clean and precise cut.
Rifilare le estremità superiori, inferiori e gli angoli con un taglierino
professionale ben affilato, effettuando un taglio netto e preciso.
06
07
A
B
C
D
E
F
G
H
472 cm
The graphics are developed in modules that can be expanded in
length and height, facilitating the positioning of the graphic subject
according to the desired request.
Le grafiche si sviluppano in moduli espansibili in modo tale
da estendersi in lunghezza e in altezza, facilitando l’eventuale
posizionamento del soggetto grafico secondo la richiesta desiderata.
2
3
4
Our creative department is provided with innovative tools that allows to
create any type of pattern. Our Bespoke service has been developed to
meet even the most specific requests, creating ad hoc graphics on demand.
Il nostro reparto creativo dispone di strumenti innovativi che permettono
di realizzare qualsiasi tipo di disegno fuori catalogo. Il servizio Bespoke è
stato pensato per soddisfare le richieste più particolari, creando grafiche
ad hoc su specifiche commissioni.
05
01
the exact layout of the pattern.
02
Controlla l’integrità del materiale e che tutto corrisponda al tuo
ordine. Segui lo schema di montaggio che trovi nella scatola.
La numerazione dei rolli indica l’ordine da seguire per l’esatta
disposizione del disegno.
Measure the width of the first roll on the wall. Trace the same
measurement on the wall with a light pencil mark, leaving a 2
cm excess on the left. All sheets are numbered consecutively.
check that it is perfectly positioned perpendicular to the floor
using a laser level or plumb line.
Misurare a parete la larghezza del primo rollo. Riportare la
medesima misura sulla parete con un leggero segno di matita,
lasciando un’abbondanza a sinistra di 2 cm. Tutti i teli sono
numerati in modo consecutivo. Prima di posare il primo telo,
verificare il perfetto posizionamento perpendicolare al pavimento
attraverso una livella laser o un filo a piombo.
Prepare the glue. Dilute the contents of the bag in cold water
while stirring quickly. Let the glue sit for about 3 minutes, then
stir vigorously. Apply the product on the wall with a short-
haired wool roller for approximately 10/15 m2. Do not apply
the adhesive over the entire wall, but proceed by portions
corresponding to slightly more than the width of the sheet.
Preparare la colla. Diluisci il contenuto della busta in acqua fred-
da mescolando velocemente. Lascia riposare la colla per circa 3
minuti, quindi rimescolare vigorosamente. Applicare il prodotto
sul muro con rullo di lana a pelo corto per circa 10/15 m2. Non
applicare l’adesivo su tutta la parete, ma procedere per porzioni
corrispondenti a poco più della larghezza del telo.
Start laying the first roll (n.1), keeping a slight abundance of
material on the upper side to compensate for any out-of-plumb
of the wall. Smooth out the newly coated surface with a clean
plastic spatula, from the centre towards the edges, to remove
any air bubbles.
Iniziare la posa del primo rollo (n.1), mantenendo una leggera
abbondanza di materiale sul lato superiore al fine di compensare
un eventuale fuori piombo della parete. Appianare la superficie
appena rivestita con una spatola di plastica pulita, dal centro verso
i bordi, per eliminare eventuali bolle d’aria.
Proceed to lay the subsequent rolls (n. 2,3,4 etc...) and match
them perfectly with the adjacent sheet, without overlapping
them. Smooth out the newly coated surface again with a clean
plastic spatula, from the centre towards the edges, to remove
any air bubbles.
Procedere alla posa dei rolli successivi (n. 2,3,4 ecc...) e fare
combaciare perfettamente con il telo adiacente, senza sovrapporli.
Appianare nuovamente la superficie appena rivestita con una
spatola di plastica pulita, dal centro verso i bordi, per eliminare
eventuali bolle d’aria.
03
1
04
01
02
03
04
05
06
3
0
0
c
m
07

