2CM PORCELAIN 50X100 CM
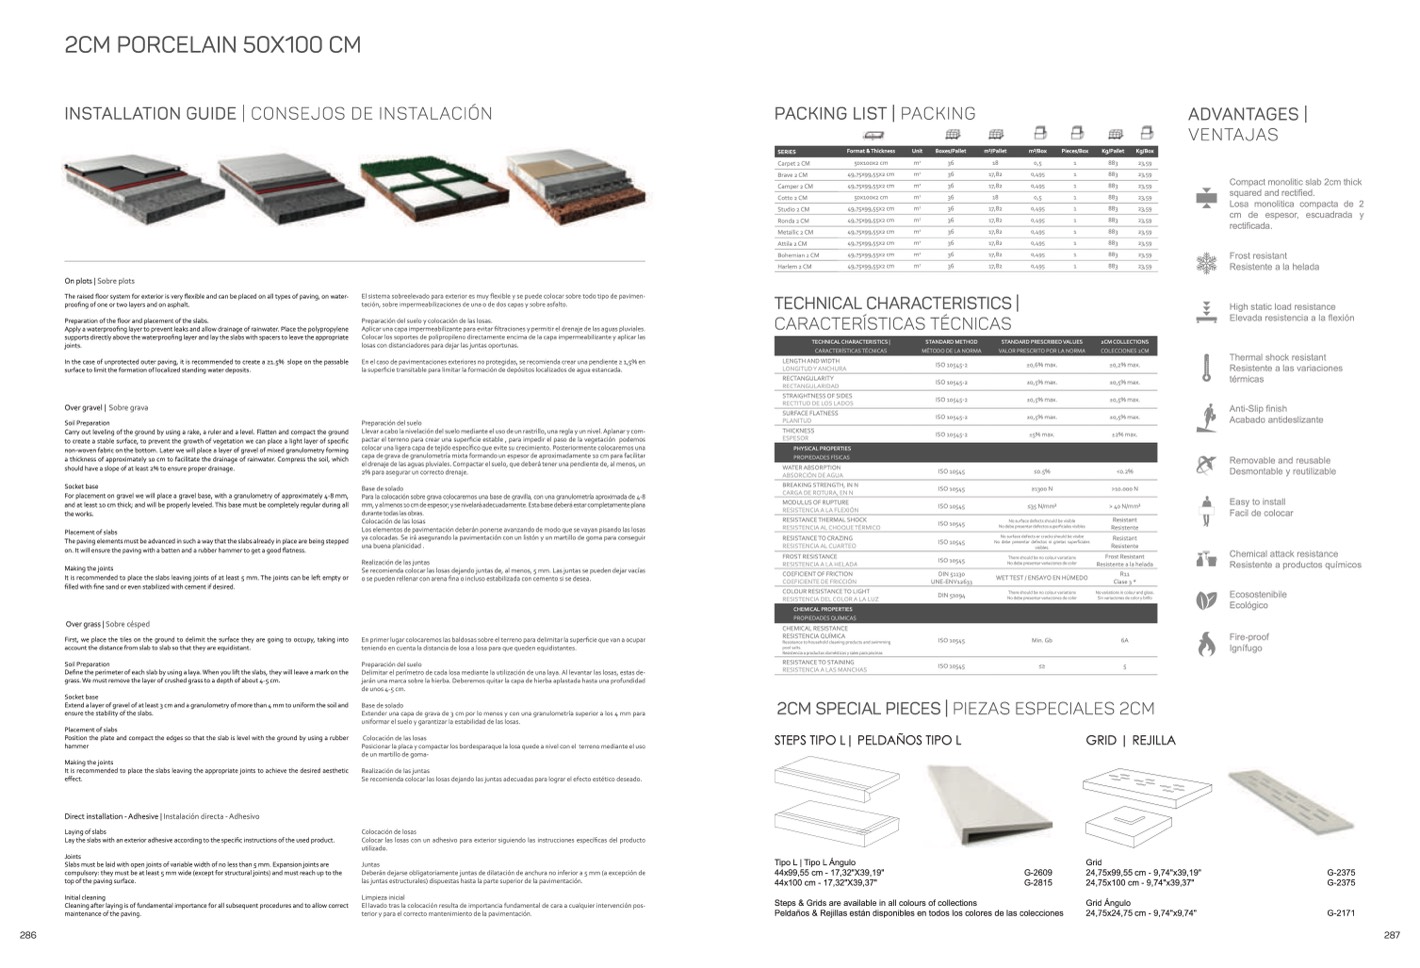
INSTALLATION GUIDE | CoNSEjoS DE INStAlACIóN
PACKING LIST | pACKING
ADVANTAGES |
vENtAjAS
Compact monolitic slab 2cm thick
squared and rectified.
Losa monolitica compacta de 2
cm de espesor, escuadrada y
rectificada.
Frost resistant
Resistente a la helada
High static load resistance
Elevada resistencia a la flexión
Thermal shock resistant
Resistente a las variaciones
térmicas
Anti-Slip finish
Acabado antideslizante
Removable and reusable
Desmontable y reutilizable
Easy to install
Facil de colocar
Chemical attack resistance
Resistente a productos químicos
SERIES
Format & Thickness
Unit
Boxes/Pallet
m2/Pallet
m2/Box
Pieces/Box
Kg/Pallet
Kg/Box
Carpet 2 CM
Brave 2 CM
Camper 2 CM
Cotto 2 CM
Studio 2 CM
Ronda 2 CM
Metallic 2 CM
Attila 2 CM
Bohemian 2 CM
Harlem 2 CM
50x100x2 cm
49,75x99,55x2 cm
49,75x99,55x2 cm
50x100x2 cm
49,75x99,55x2 cm
49,75x99,55x2 cm
49,75x99,55x2 cm
49,75x99,55x2 cm
49,75x99,55x2 cm
49,75x99,55x2 cm
m
2
36
m
2
36
m
2
36
m
2
36
m
2
36
m
2
36
m
2
36
m
2
36
m
2
36
m
2
36
18
17,82
17,82
18
17,82
17,82
17,82
17,82
17,82
17,82
0,5
0,495
0,495
0,5
0,495
0,495
0,495
0,495
0,495
0,495
±0,6% max.
±0,5% max.
±0,5% max.
±0,5% max.
±5% max.
≤0.5%
≥1300 N
≤35 N/mm2
1
1
1
1
1
1
1
1
1
1
883
23,59
883
23,59
883
23,59
883
23,59
883
23,59
883
23,59
883
23,59
883
23,59
883
23,59
883
23,59
±0,2% max.
±0,5% max.
±0,5% max.
±0,5% max.
±2% max.
<0.2%
>10.000 N
> 40 N/mm2
Resistant
Resistente
Resistant
Resistente
Frost Resistant
Resistente a la helada
R11
Clase 3 *
No variations in colour and gloss.
Sin variaciones de color y brillo
6A
5
On plots | Sobre plots
The raised floor system for exterior is very flexible and can be placed on all types of paving, on water-
proofing of one or two layers and on asphalt.
Preparation of the floor and placement of the slabs.
Apply a waterproofing layer to prevent leaks and allow drainage of rainwater. Place the polypropylene
supports directly above the waterproofing layer and lay the slabs with spacers to leave the appropriate
joints.
In the case of unprotected outer paving, it is recommended to create a ≥1.5% slope on the passable
surface to limit the formation of localized standing water deposits.
Over gravel | Sobre grava
Soil Preparation
Carry out leveling of the ground by using a rake, a ruler and a level. Flatten and compact the ground
to create a stable surface, to prevent the growth of vegetation we can place a light layer of specific
non-woven fabric on the bottom. Later we will place a layer of gravel of mixed granulometry forming
a thickness of approximately 10 cm to facilitate the drainage of rainwater. Compress the soil, which
should have a slope of at least 2% to ensure proper drainage.
Socket base
For placement on gravel we will place a gravel base, with a granulometry of approximately 4-8 mm,
and at least 10 cm thick; and will be properly leveled. This base must be completely regular during all
the works.
Placement of slabs
The paving elements must be advanced in such a way that the slabs already in place are being stepped
on. It will ensure the paving with a batten and a rubber hammer to get a good flatness.
Making the joints
It is recommended to place the slabs leaving joints of at least 5 mm. The joints can be left empty or
filled with fine sand or even stabilized with cement if desired.
Over grass | Sobre césped
First, we place the tiles on the ground to delimit the surface they are going to occupy, taking into
account the distance from slab to slab so that they are equidistant.
Soil Preparation
Define the perimeter of each slab by using a laya. When you lift the slabs, they will leave a mark on the
grass. We must remove the layer of crushed grass to a depth of about 4-5 cm.
Socket base
Extend a layer of gravel of at least 3 cm and a granulometry of more than 4 mm to uniform the soil and
ensure the stability of the slabs.
Placement of slabs
Position the plate and compact the edges so that the slab is level with the ground by using a rubber
hammer
Making the joints
It is recommended to place the slabs leaving the appropriate joints to achieve the desired aesthetic
effect.
Direct installation - Adhesive | Instalación directa - Adhesivo
Laying of slabs
Lay the slabs with an exterior adhesive according to the specific instructions of the used product.
Joints
Slabs must be laid with open joints of variable width of no less than 5 mm. Expansion joints are
compulsory: they must be at least 5 mm wide (except for structural joints) and must reach up to the
top of the paving surface.
Initial cleaning
Cleaning after laying is of fundamental importance for all subsequent procedures and to allow correct
maintenance of the paving.
El sistema sobreelevado para exterior es muy flexible y se puede colocar sobre todo tipo de pavimen-
tación, sobre impermeabilizaciones de una o de dos capas y sobre asfalto.
Preparación del suelo y colocación de las losas.
Aplicar una capa impermeabilizante para evitar filtraciones y permitir el drenaje de las aguas pluviales.
Colocar los soportes de polipropileno directamente encima de la capa impermeabilizante y aplicar las
losas con distanciadores para dejar las juntas oportunas.
En el caso de pavimentaciones exteriores no protegidas, se recomienda crear una pendiente ≥ 1,5% en
la superficie transitable para limitar la formación de depósitos localizados de agua estancada.
Preparación del suelo
Llevar a cabo la nivelación del suelo mediante el uso de un rastrillo, una regla y un nivel. Aplanar y com-
pactar el terreno para crear una superficie estable , para impedir el paso de la vegetación podemos
colocar una ligera capa de tejido específico que evite su crecimiento. Posteriormente colocaremos una
capa de grava de granulometría mixta formando un espesor de aproximadamente 10 cm para facilitar
el drenaje de las aguas pluviales. Compactar el suelo, que deberá tener una pendiente de, al menos, un
2% para asegurar un correcto drenaje.
Base de solado
Para la colocación sobre grava colocaremos una base de gravilla, con una granulometría aproximada de 4-8
mm, y al menos 10 cm de espesor; y se nivelará adecuadamente. Esta base deberá estar completamente plana
durante todas las obras.
Colocación de las losas
Los elementos de pavimentación deberán ponerse avanzando de modo que se vayan pisando las losas
ya colocadas. Se irá asegurando la pavimentación con un listón y un martillo de goma para conseguir
una buena planicidad .
Realización de las juntas
Se recomienda colocar las losas dejando juntas de, al menos, 5 mm. Las juntas se pueden dejar vacías
o se pueden rellenar con arena fina o incluso estabilizada con cemento si se desea.
En primer lugar colocaremos las baldosas sobre el terreno para delimitar la superficie que van a ocupar
teniendo en cuenta la distancia de losa a losa para que queden equidistantes.
Preparación del suelo
Delimitar el perímetro de cada losa mediante la utilización de una laya. Al levantar las losas, estas de-
jarán una marca sobre la hierba. Deberemos quitar la capa de hierba aplastada hasta una profundidad
de unos 4-5 cm.
Base de solado
Extender una capa de grava de 3 cm por lo menos y con una granulometría superior a los 4 mm para
uniformar el suelo y garantizar la estabilidad de las losas.
Colocación de las losas
Posicionar la placa y compactar los bordesparaque la losa quede a nivel con el terreno mediante el uso
de un martillo de goma-
Realización de las juntas
Se recomienda colocar las losas dejando las juntas adecuadas para lograr el efecto estético deseado.
Colocación de losas
Colocar las losas con un adhesivo para exterior siguiendo las instrucciones específicas del producto
utilizado.
Juntas
Deberán dejarse obligatoriamente juntas de dilatación de anchura no inferior a 5 mm (a excepción de
las juntas estructurales) dispuestas hasta la parte superior de la pavimentación.
Limpieza inicial
El lavado tras la colocación resulta de importancia fundamental de cara a cualquier intervención pos-
terior y para el correcto mantenimiento de la pavimentación.
TECHNICAL CHARACTERISTICS |
CArACtErÍStICAS tÉCNICAS
TECHNICAL CHARACTERISTICS |
CARACTERÍSTICAS TÉCNICAS
STANDARD METHOD
MÉTODO DE LA NORMA
STANDARD PRESCRIBED VALUES
VALOR PRESCRITO POR LA NORMA
2CM COLLECTIONS
COLECCIONES 2CM
LENGTH AND WIDTH
LONGITUD Y ANCHURA
RECTANGULARITY
RECTANGULARIDAD
STRAIGHTNESS OF SIDES
RECTITUD DE LOS LADOS
SURFACE FLATNESS
PLANITUD
THICKNESS
ESPESOR
WATER ABSORPTION
ABSORCIÓN DE AGUA
BREAKING STRENGTH, IN N
CARGA DE ROTURA, EN N
MODULUS OF RUPTURE
RESISTENCIA A LA FLEXIÓN
RESISTANCE THERMAL SHOCK
RESISTENCIA AL CHOQUE TÉRMICO
RESISTANCE TO CRAZING
RESISTENCIA AL CUARTEO
FROST RESISTANCE
RESISTENCIA A LA HELADA
COEFICIENT OF FRICTION
COEFICIENTE DE FRICCIÓN
COLOUR RESISTANCE TO LIGHT
RESISTENCIA DEL COLOR A LA LUZ
CHEMICAL RESISTANCE
RESISTENCIA QUÍMICA
Resistance to household cleaning products and swimming
pool salts.
Resistencia a productos domésticos y sales para piscinas
RESISTANCE TO STAINING
RESISTENCIA A LAS MANCHAS
ISO 10545-2
ISO 10545-2
ISO 10545-2
ISO 10545-2
ISO 10545-2
ISO 10545
ISO 10545
ISO 10545
ISO 10545
ISO 10545
ISO 10545
DIN 51130
UNE-ENV12633
DIN 51094
ISO 10545
ISO 10545
No surface defects should be visible
No debe presentar defectos superficiales visibles
No surface defects or cracks should be visibe
No debe presentar defectos ni grietas superficiales
visibles.
There should be no colour variations
No debe presentar variaciones de color
WET TEST / ENSAYO EN HÚMEDO
There should be no colour variations
No debe presentar variaciones de color
Min. Gb
≤≥
Ecosostenibile
Ecológico
Fire-proof
Ignífugo
2CM SPECIAL PIECES | pIEzAS ESpECIAlES 2Cm
STEPS TIPO L| PELDAÑOS TIPO L
Tipo L | Tipo L Ángulo
44x99,55 cm - 17,32"X39,19"
44x100 cm - 17,32"X39,37"
G-2609
G-2815
GRID | REJILLA
Grid
24,75x99,55 cm - 9,74"x39,19"
24,75x100 cm - 9,74"x39,37"
Grid Ángulo
24,75x24,75 cm - 9,74"x9,74"
G-2375
G-2375
G-2171
286
287
PHYSICAL PROPERTIES
PROPIEDADES FÍSICAS
CHEMICAL PROPERTIES
PROPIEDADES QUÍMICAS
Steps & Grids are available in all colours of collections
Peldaños & Rejillas están disponibles en todos los colores de las colecciones

